In this guide, we will show you the steps to install Xposed Framework on Android 10/11/12 using the LSPosed module. Long before Magisk modules set their feet in the custom development, Xposed Framework was the go-to choice for tech enthusiasts. And even though, modules from the systemless root app Magisk have taken over, there’s no love lost with the ever-popular Framework.
During the initial days of Xposed, Greenify, AdBlocker, and Gravity Box were some of the noteworthy names. But as of now, there have been a plethora of new and noteworthy additions to its ever-growing family. However, the original Xposed was built for Android Pie or above builds. This is where a few other developers picked up this project and have since given it a new lease.
As of now, I have personally tested it on Android 10 and 11, and the developer claims support for Android 12 Beta 4 as well (the latest at the time of writing). The installation of Xposed is now carried out by making use of the underlying Riru module. In this regard, EdXposed was the first fork that used Riru and extended the support to Xposed. However, in my personal testing, it is giving a tough time during the installation process on Android 11.
Even if you have installed Riru, EdXposed would just refuse to identify it and would instead give out the Installation Failed error. This is when I turned my attention towards LSPosed, and since then, there was no looking back. Therefore, in this guide, we will show you the steps to install Xposed Framework on your Android 10/11/12 device using the LSPosed module. Follow along.
Install Xposed Framework on Android 10/11/12 using LSPosed
The below instructions are listed under separate sections for ease of understanding. Make sure to follow in the exact same sequence as mentioned. Droidwin and its members wouldn’t be held responsible in case of a thermonuclear war, your alarm doesn’t wake you up, or if anything happens to your device and data by performing the below steps.
STEP 1: Root Your Device
First and foremost, you need a rooted Android device with Magisk installed. If you haven’t done so, then you may refer to our guide to do search on Google or XDA
In this age mobile means android. Android is now in everyone’s hands. Everyone is busy to make his own mobile look different from everyone else. Many people use different themes, icon, wallpaper, live wallpaper on his mobile for look different. Now it is not possible to change the font style without rooting on many mobiles. Again many mobiles can be changed without rooting. e.g Samsung, OnePlus. But Bangla font cannot be changed in any mobile. You can make your mobile more attractive by changing English font as well as Bangla font.
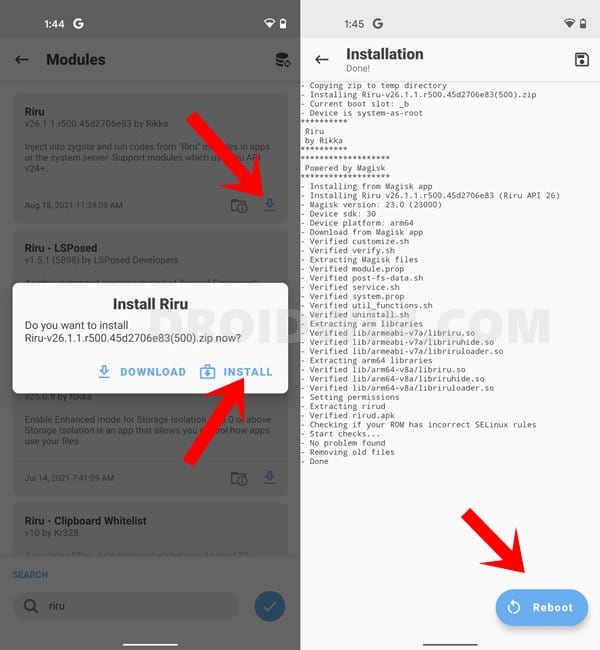
STEP 2: Install Riru Module
- Launch the Magisk App and go to its Module section.
- Then tap on the Search icon situated at the bottom right.
- Type in Riru in the search box and hit Enter.
- Riru should now appear in the search results.
- Tap on the blue download icon and select Install.
- The module will be installed within seconds.
- Once done, tap on the Restart button that appears at the bottom right.
STEP 3: Install Riru – LSPosed Module

- Once your device boots up, go to its Module section
- Then download and install the Riru – LSPosed module.
- Once done, hit the Reboot icon at the bottom right.
STEP 4: Install LSPosed App
- You will now have to install the LSPosed App that would give you an interface to work upon.
- So download the latest LSPosed APK from GitHub.
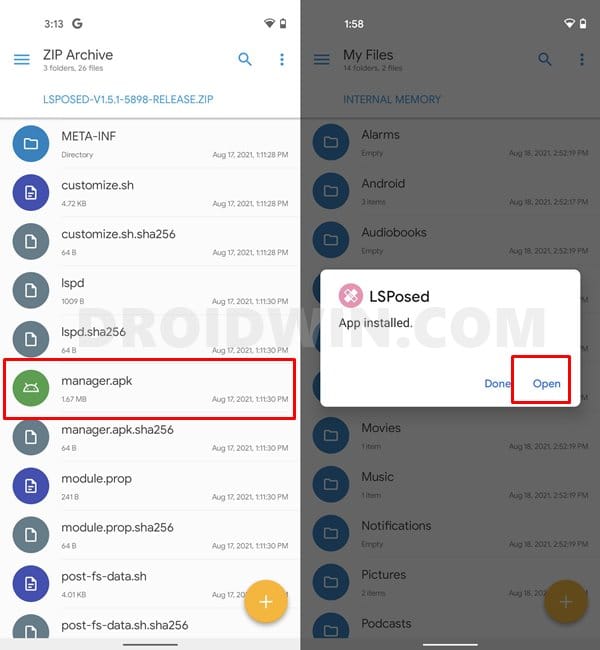
- Once downloaded, extract it to any convenient location on your device.
- Then scroll to the manager.apk file and install it.
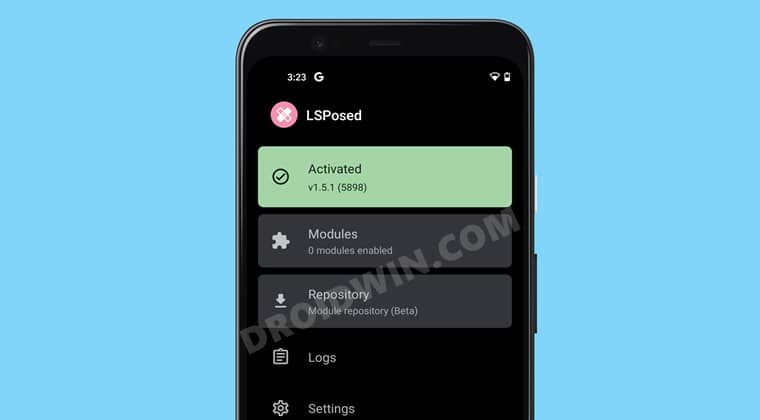
STEP 5: Verify Xposed Installation on Android 10/11/12
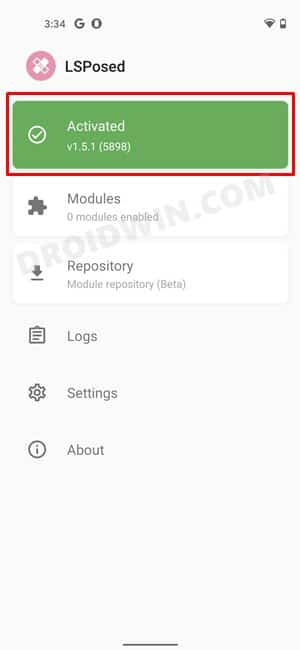
Launch the LSPosed App on your device and it should display the Status as Activated. You may now proceed ahead with the installation of Modules.
STEP 6: How to Install Xposed Framework Modules on Android 10/11/12
- Launch the LSPosed App and go to the Repository section.
- Select the desired module from the list and tap on it.
- Go to its Release section and tap on the Assets button.
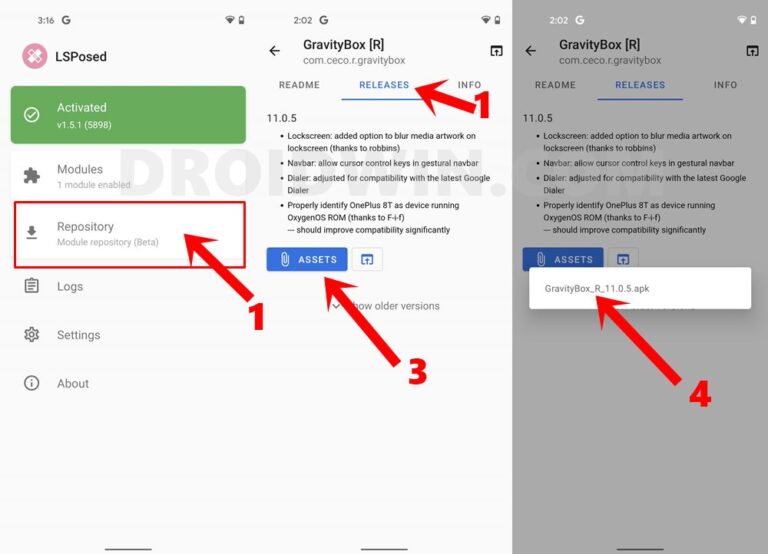
- Finally, select the desired APK version from the list.
- The installation shall now begin and once done, it should be installed as a normal app.
- Now again launch the LSPosed App. This time go to the Modules section.
- Select the recently installed module from the list.
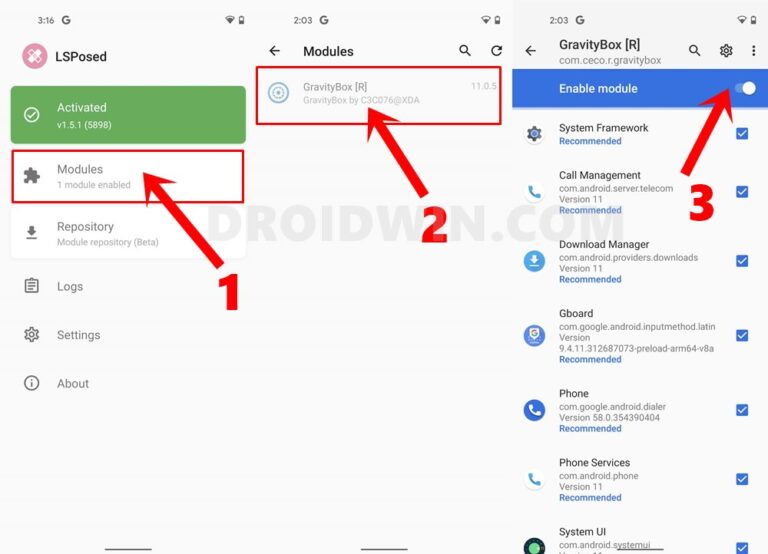
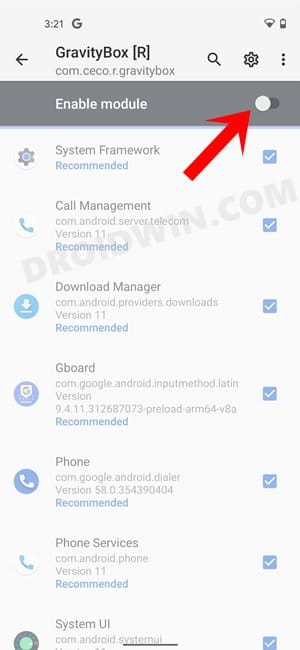
- Finally, turn on the toggle next to Enable Module situated at the top.
- That’s it, you may now use this module as per your need.
How to Disable Xposed Framework/Modules on Android 10/11/12
- If you only wish to disable an individual module, then just turn off the “Enable Module” toggle next to the desired module.
- On the other hand, if you want to disable the entire Xposed Framework itself, then launch the Magisk App on your device.
- Then go to the Modules section and disable the toggle next to Riru and Riru -LSPosed.
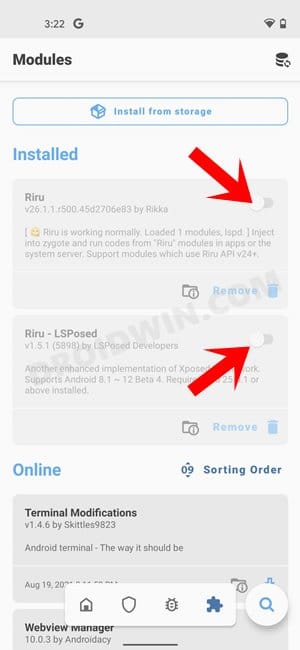
- Finally, restart the device and Xpsoded stands disabled.
- To re-enable Xposed, just turn on the toggle next to both these modules.
How to Uninstall Xposed Framework on Android
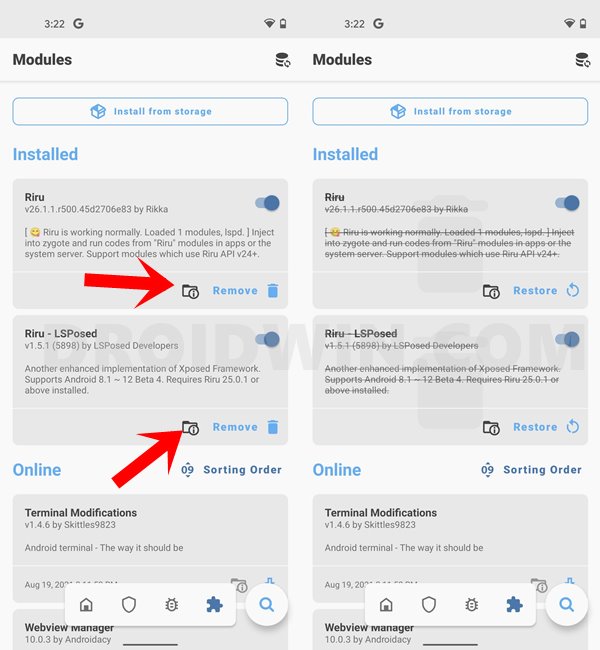
- However, if you wish to completely uninstall Xposed from your device, then launch the Magisk App.
- Then go to the Modules section and tap on Remove next to both the Riru and Riru -LSPosed modules.
- Finally, restart your device and Xposed stands removed
That’s it. These were the steps to install Xposed Framework on Android 10/11/12 using LSPosed. While its module repository is yet to match the level of EdXposed, but it worked without any issues and it was a tad better on the performance front as well. What are your views on the same? Do let us know in the comments section below.
I’m not responsible for any damages. Try it your own risk.
All rights reserved to droidwin & Sadique Hassan
Facebook: https://www.facebook.com/pastfutur.official
Twitter: https://twitter.com/PastFutur
Linkedin: https://www.linkedin.com/company/pastfutur
Telegram: https://t.me/pastfutur_official